
Mar 24, 2021

Gathering feedback from your audience is a crucial step to make sure your newsletter is delivering value. Considering feedback from your audience can improve your content strategy, increase your click through rates, and improve reader loyalty. But what's a good system to collect and measure feedback? Let's take a look.
Step 1: Adding Feedback Links to Email
To collect feedback, add a link at the footer of your email. Here's a sample.
Was it useful? Help us to improve! With your feedback, we can improve the letter.
👍 That helped me. Thanks. (link to feedback form)
👎 Not interesting to me. (link to feedback form)
Be creative and specific to build your own.
Step 2: Creating Feedback Forms
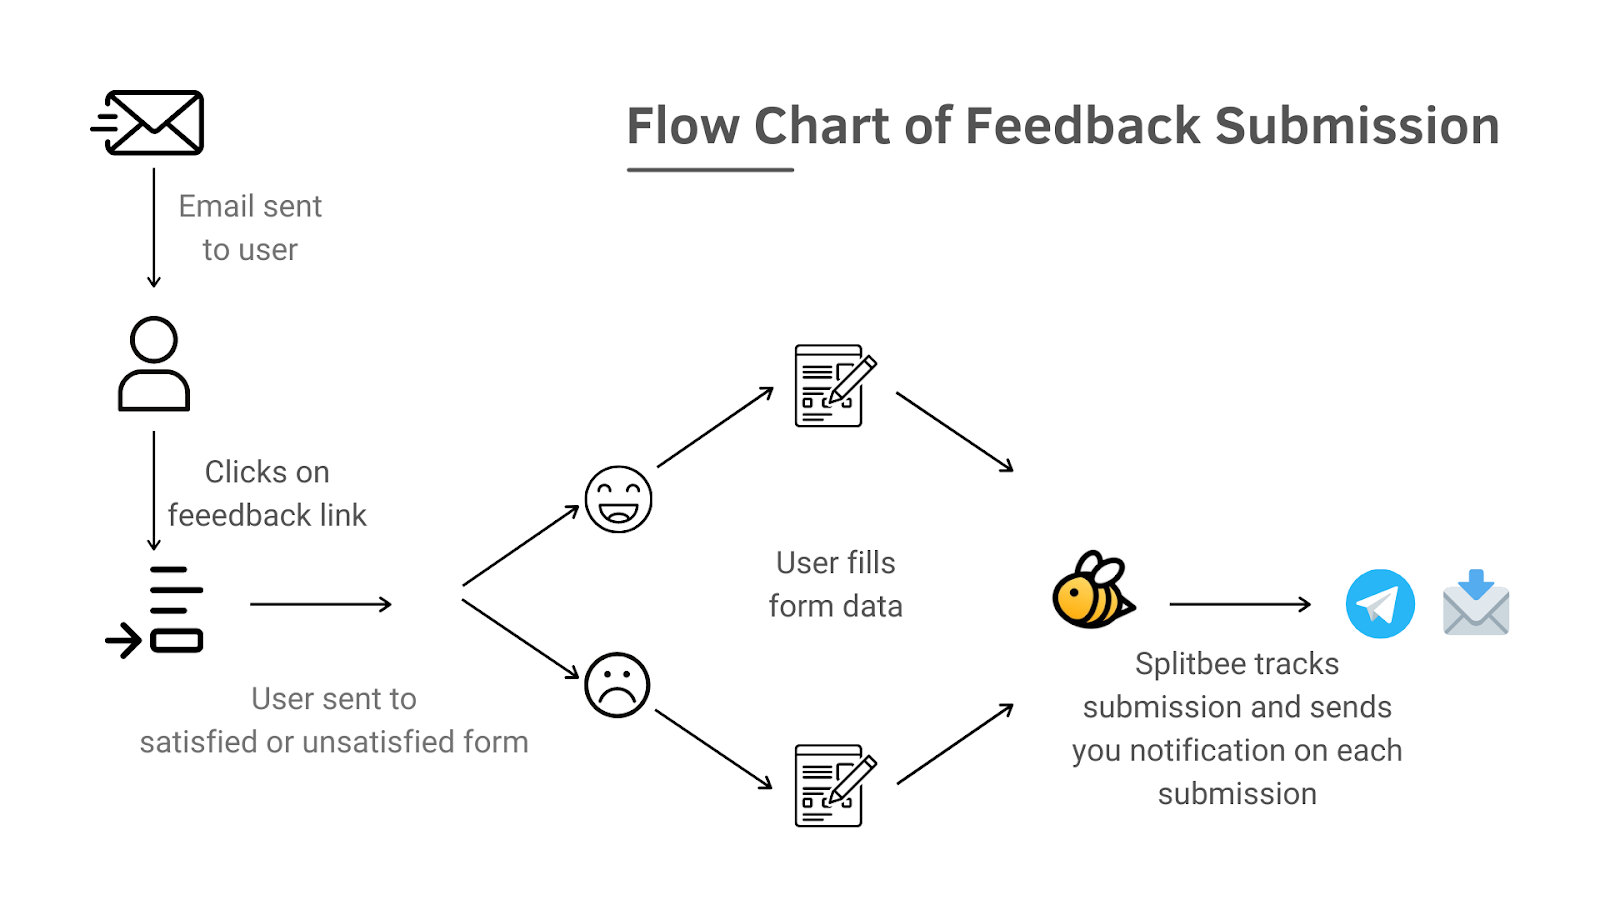
So to collect feedback you'll have set up two different pages with different forms. One for satisfied users, another for the unsatisfied user. Here's how your link should look.
User satisfied → *https://yourwebsite.com/happy*
User unsatisfied → *https://yourwebsite.com/unhappy*
Below is a sample image of a feedback form.
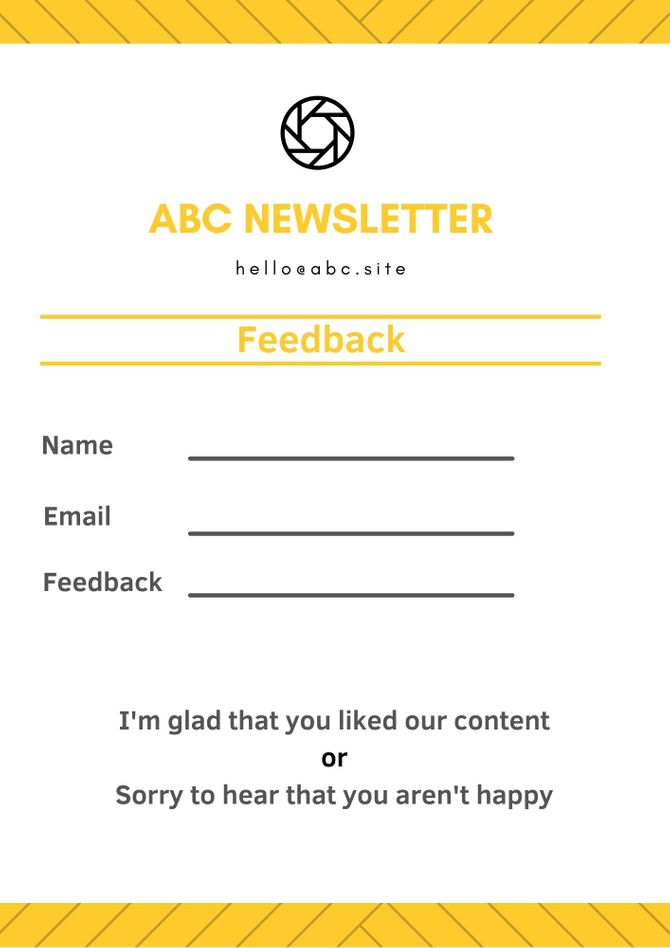
It's important to have your forms on 2 different pages. That allows you to track user feedback, which we'll use in later steps. Here are some tips for building forms for WordPress and Ghost.
Step 3: Tracking User Feedback Clicks
Let's assume you have 10,000 email subscribers and around 25% of these subscribers click on your feedback link. That comes to 2,500 clicks and out of these 2,500 people not everyone will fill out the feedback form. That means we'll want to track clicks, not just form submissions.
To do this we will be using a tool called Splitbee. To track clicks, add Splitbee on both of your form pages. After that, you'll be able to see user clicks within the Splitbee dashboard.

Step 4: Track User Form Flow
We can also use Splitbee to track user flow for from a form submission to a "Thank you" page. This confirms submitted feedback.
Eg.- https://yoursite.com/happy → https://yoursite.com/thank-you
First you need to build a thank you page.
Here's the HTML code for that:
<!-- The Iframe code will setup the redirection -->
<iframe name="hidden_iframe" id="hidden_iframe" style="display:none;" onload="if(submitted) {window.location='<https://yoursite.com/thank-you>';}"></iframe>
<form method="POST" id="zcampaignOptinForm" action="link provide by your ESP" target="hidden_iframe" onsubmit="submitted=true;">
<!-- The Feedback Form Content Goes Here -->
</form>
Now this code is only for those who are not using any CMS plugins like WP Forms, so see if your website builder has a option if not then use this.
It's time to setup Splitbee now. One the dashboard click on funnels. Then click on Add Step under Create New Funnel.
In pages choose /happy or /unhappy in step 1 and /thank-you in step too. Here's how your funnel should look like.

So in this image we can clearly see how many people clicked on satisfied link and how many out of then gave us some feedback.
Step 5: Setup Notification on Submission
This is an completely optional step but I'll say it's good to have one. In this step well be using Splitbee to send us a text on Telegram every time an user submits a feedback.
For this go to Automations then click on Select Trigger. There simply choose Thank-You page and viola, you'll be given the option to get notifications. Simply choose Telegram and follow the instructions.
For the basics, create a simple system with tools like Reactions by Sparkloop or FeedbackLetter.
