
Dec 2, 2020

SPF was designed to identify fake and forged email addresses in the sending delivery process. It needs to be used in combination with DKIM and DMARC. Here, we'll cover the pros and cons of implementing SPF, as well as the steps to implement it.
Pros
- Stops phishing attacks
- SPF authenticates your email so that when an attacker tries to send fake email from your domain, the receiving email server sees that it’s from a malicious source, and flags it.
- Boosts domain reputation
- When you implement SPF, you’re signaling to email providers that you’re committed to preventing email-borne cyberattacks, making it more likely that genuine emails from your domain reach their destination inboxes instead of being falsely flagged
Cons
- Difficulty maintaining SPF records
- Domain owners often require authorized third party vendors to send emails from their domain. This means the SPF records would have to be constantly updated every time there’s a change in IP address or third party vendors.
Setting up an SPF record.
This is a fairly straightforward process. Follow these steps within the registrar your domain is with. This varies from person to person, so the UI might be differnt. In my case, I had to log into Bluehost. Others include, Namecheap, Hostgator, Google Domains, etc. It should also be noted that the SPF must be added in the TXT section of your DNS records in your given registar.
1. Start by typing “v=spf1”.
(This indicates that it is in fact an spf record, no matter what you do, every record will start with this.)
2. Next you will need to add is an IP(s) to the text. These are IP addresses that are authorized to send emails on behalf of your domain. They look a little something like this.
“v=spf1 ip4:40.113.200.201 ip6:2001:db8:85a3:8d3:1319:8a2e:370:7348” (no need to ad ip6, but it is optional)
3. Next is the “include” statement which looks like this;
“v=spf1 ip4:40.113.200.201 include:thirdpartydomain.com”
In my case, I own theslice.co, so it will look a bit like this.
“v=spf1 ip4:40.113.200.201 include:theslice.co” (this isn't actually my IP)
4. The end of the SPF record is the “all” tag. It is important because it indicates what policy and how strictly it should be applied when a receiving server detects a server which is not listed (authorized) in your SPF record.
The “all” tag has the following basic options:
-all – (fail) non-authorized emails will be rejected*.
~all – (softfail) non-authorized emails will be accepted but marked*.
+all – this tag allows any server to send email from your domain, so we advise strongly against it.
Example here
v=spf1 ip4:40.113.200.201 include:theslice.co~all
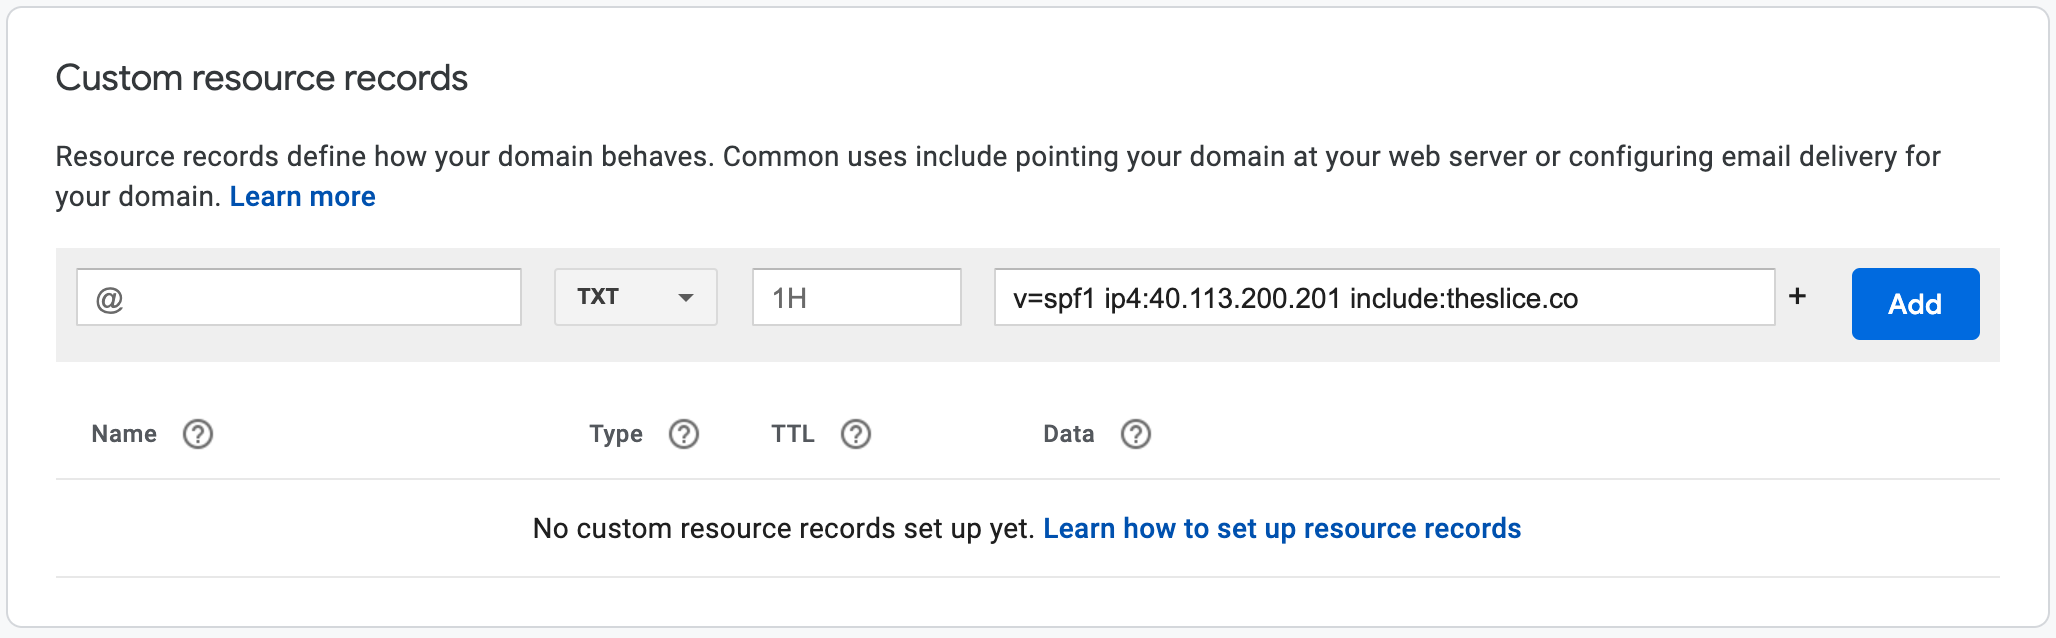
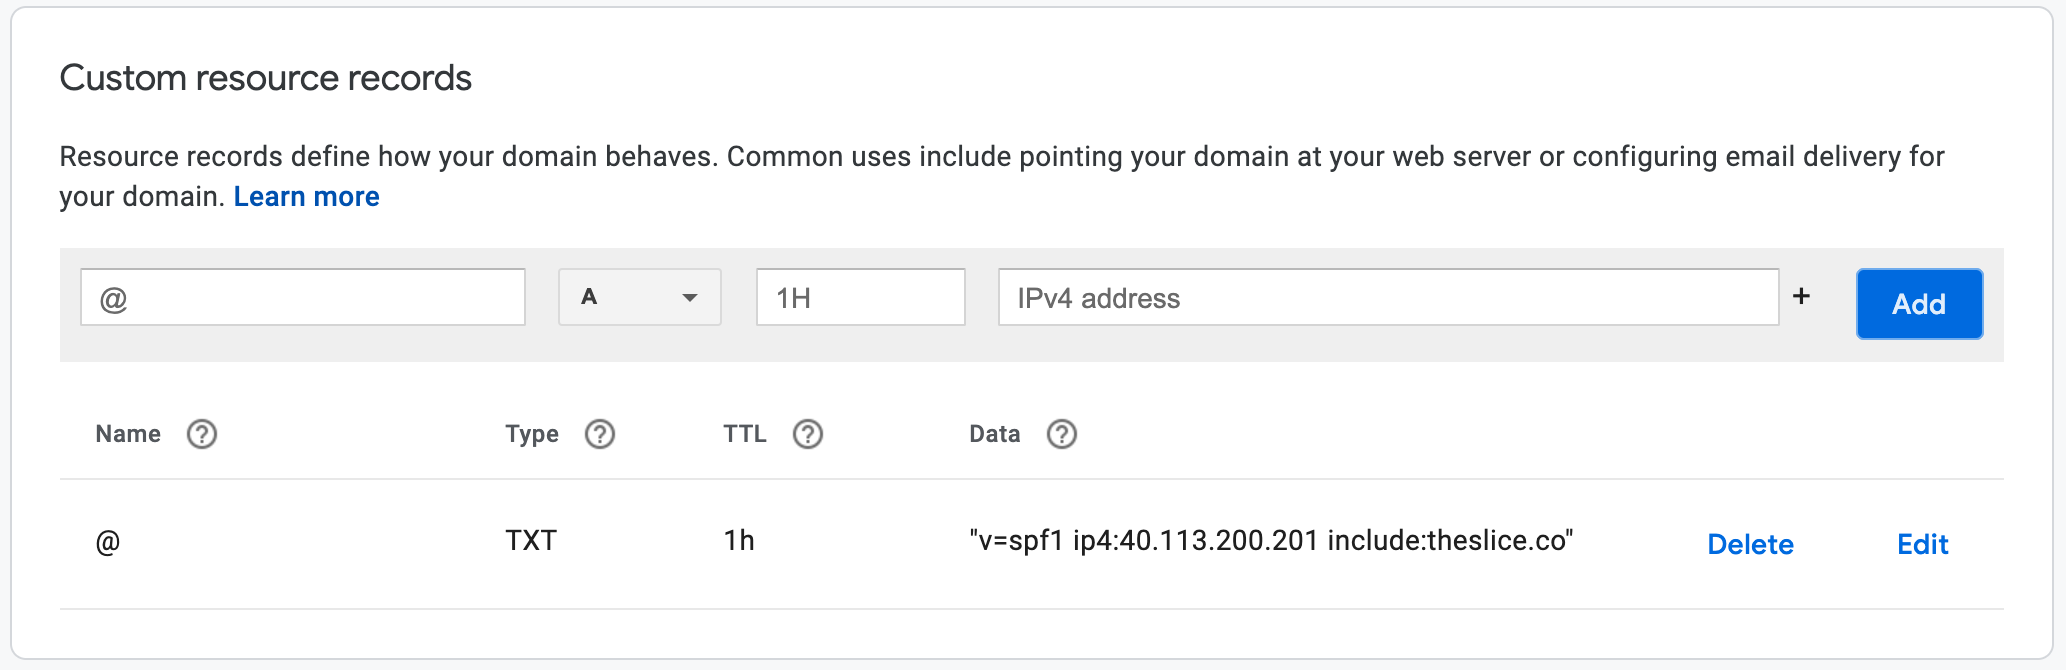
Here is an example of going through and setting up SPF in Google Domains registrar using the above example.
- Go to https://domains.google.com/registrar
- Click 'My Domains' on the left side
- Click your domain (ex. "TheSlice.co")
- Click on DNS on the left side
- Scroll all the way to the section that says Custom resource records
- Choose TXT in the dropdown box and copy the SPF record into the Text box
- Click Add
Here is an example of what it will look like before you add the new SPF record.
Here is an example of what it will look like after you add the new SPF record.
These are just basics of the spf syntax and its most probably all that you're ever going to need and know, but if you would like to dive deeper in the syntax, then check this out here.
